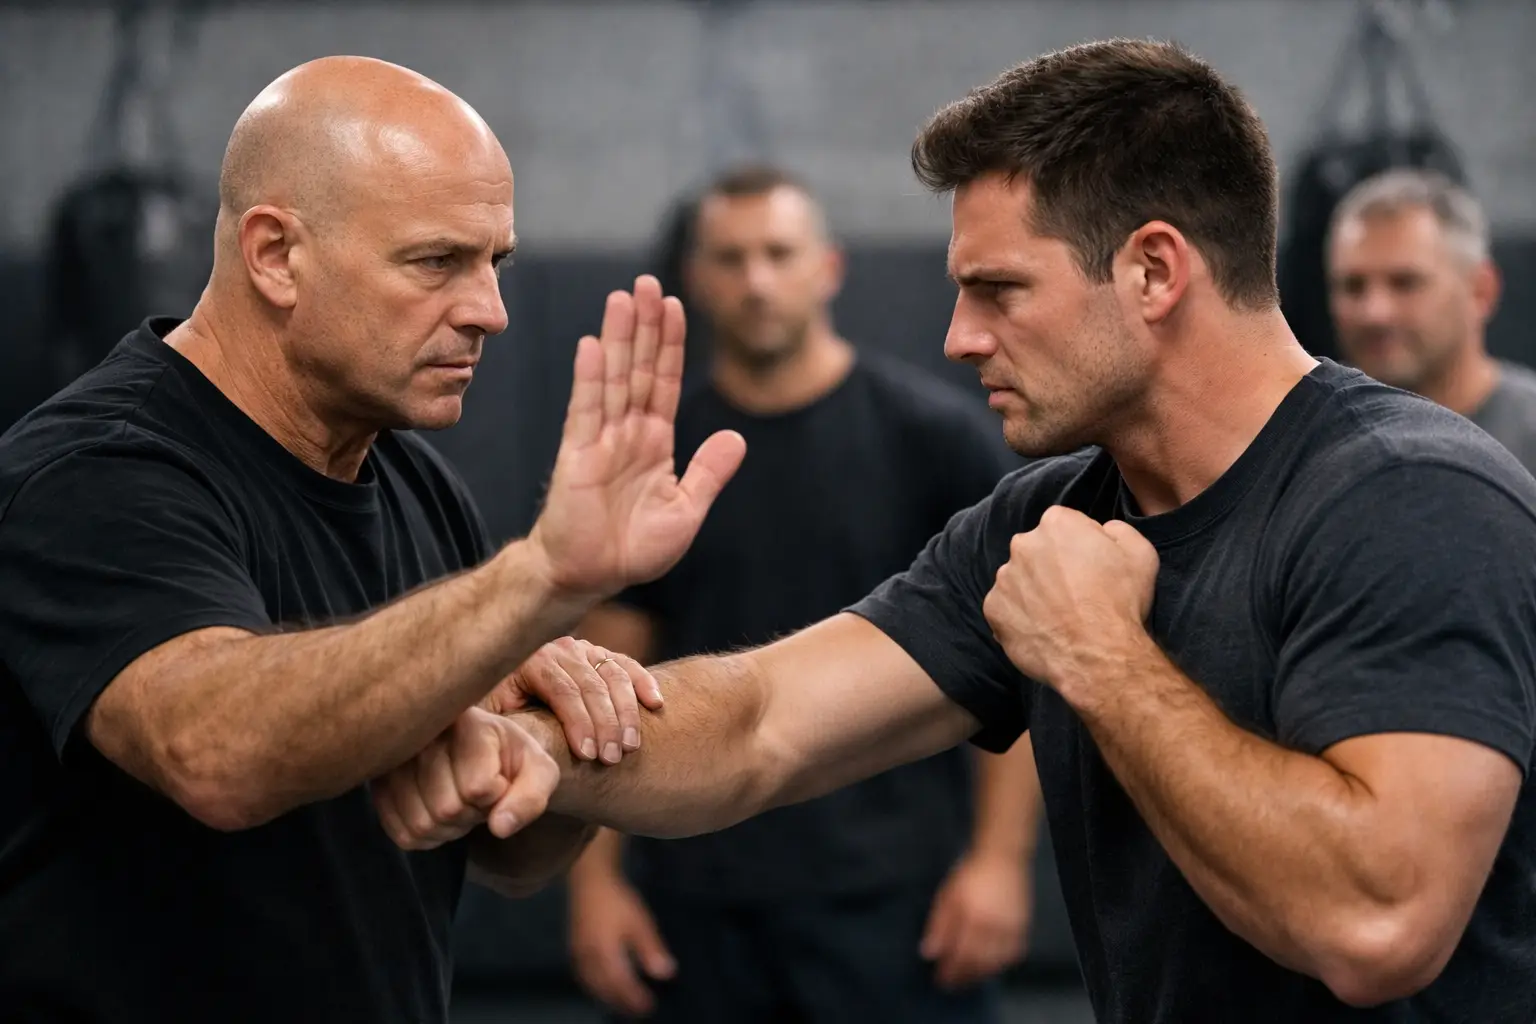
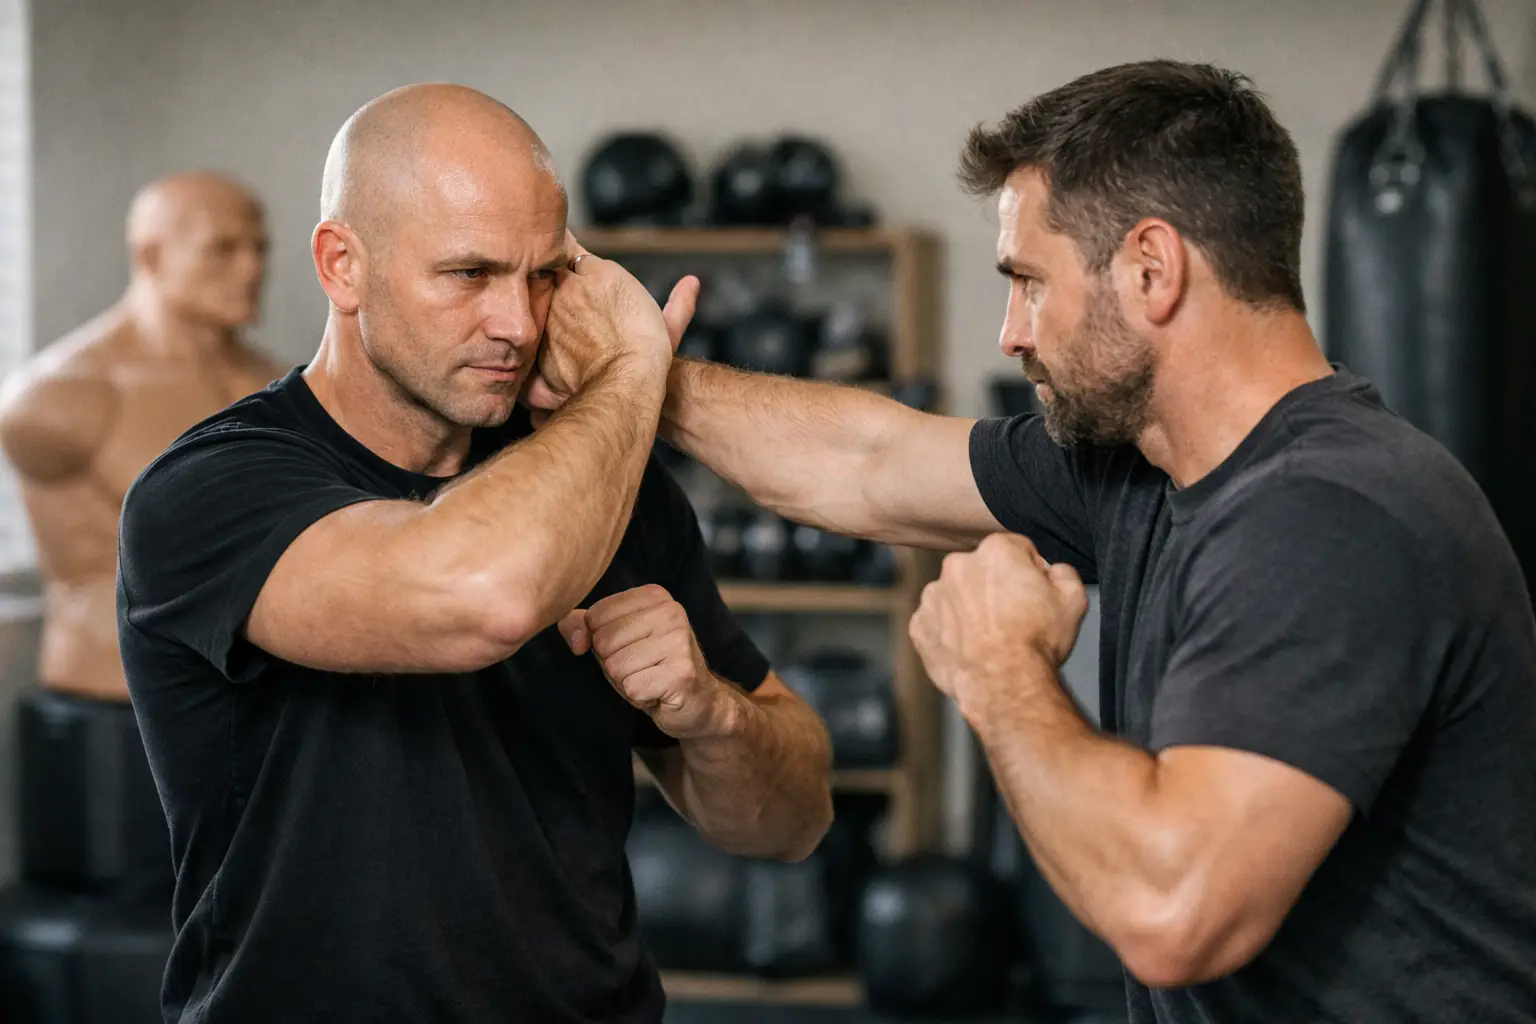
A missed class should not become a missed month. When work, travel, family obligations, or distance from a training center get in the way, your home practice must still move you forward. The best krav maga home routines do not try to imitate a crowded gym class. They develop the attributes you can build alone: balance, movement, striking mechanics, fitness, awareness, and the discipline to train with purpose.
Home training is powerful when it follows a progression. Randomly throwing punches at the air for 20 minutes may raise your heart rate, but it will not reliably prepare you to move under pressure. A serious routine has a clear objective, controlled repetitions, and standards you can measure.
What Makes the Best Krav Maga Home Routines Work
Krav Maga is built for practical self-defense, not for performing techniques in ideal conditions. That means a useful home session should reinforce a stable fighting stance, explosive but balanced movement, direct strikes, protective positioning, and the ability to recover your breathing after effort.
The limitation is equally important: solo practice cannot fully replace a qualified training partner or instructor. You cannot safely test timing, distance, resistance, weapon defenses, chokes, or ground-control situations by yourself. Do not create false confidence by rehearsing complicated defenses against imaginary attacks. Use home training to sharpen foundations, then validate those foundations through structured instruction, feedback, and supervised partner work when available.
A strong session usually takes 30 to 45 minutes. Beginners should start with three sessions per week, leaving recovery days between harder workouts. More experienced practitioners can add short technical sessions, but quality remains more valuable than volume.
Routine One: Build the Base Before You Build Speed
Your first routine should make your stance and movement automatic. In a real confrontation, your ability to move, protect your head, and stay upright matters before any advanced technique.
Start with five minutes of joint preparation. Roll the shoulders, mobilize the hips and ankles, perform slow bodyweight squats, and lightly rotate through your upper back. The goal is not stretching for its own sake. It is preparing the joints that support movement, striking, and safe changes of direction.
Move into your fighting stance. Keep your feet roughly shoulder-width apart, knees soft, hands high enough to protect the head, and chin slightly down. Your weight should be balanced so you can move in any direction without crossing your feet or leaning too far forward.
For ten minutes, practice stepping forward, backward, left, and right. Move one foot, then bring the other foot back to stance. Do not bounce unnecessarily. Do not let your feet come together. At first, work slowly in front of a mirror or use a phone recording to identify posture errors.
Then add defensive movement. Picture a straight attack coming toward you and practice taking a small step off line while keeping your hands in a protective position. You are not rehearsing a fantasy sequence. You are training the habit of moving your body while preserving balance and awareness.
Finish with three rounds of 60 seconds: 20 seconds of controlled movement, 20 seconds of fast directional changes, and 20 seconds of stillness in stance with hands up. Rest for 30 to 45 seconds between rounds. This simple structure teaches you to regain posture after moving hard.
Routine Two: Train Direct Strikes With Control
Krav Maga striking is designed around efficiency. At home, focus on clean mechanics before power. A poorly aligned punch, elbow, knee, or kick can injure your wrist, shoulder, hip, or foot, especially when you begin adding speed.
Start with shadowboxing in short combinations. Throw a straight punch from the guard, retract it immediately, and keep the opposite hand protecting your face. Exhale sharply with each strike. Your shoulders should stay relaxed until the moment of contact, even when there is no target.
Work for three two-minute rounds. In round one, use only straight punches and movement. In round two, add palm strikes and elbows at close range. Palm strikes are particularly useful for solo practice because they encourage a more natural hand position and can reduce the temptation to overextend the wrist. In round three, add knee strikes while maintaining a stable upper body and controlled return to stance.
If you own a properly secured heavy bag and understand how to strike it safely, use it for limited power work. Begin at 50 to 60 percent effort. A heavy bag can expose problems that shadowboxing hides, including poor wrist alignment, overreaching, and failure to recover your guard. Wrap your hands or use appropriate gloves when needed, and never kick or punch a bag mounted insecurely.
Do not chase long, flashy combinations. A direct strike, immediate follow-up, and movement to a safer position is more aligned with real-world self-defense than standing in front of an opponent to trade techniques.
Routine Three: Add Conditioning That Supports Self-Defense
A self-defense technique is only useful if you can execute it when tired, startled, and under stress. Conditioning at home should support your ability to move explosively, stabilize your body, and recover quickly.
After a brief warm-up, complete four rounds of the following circuit: 30 seconds of squats, 30 seconds of push-ups, 30 seconds of mountain climbers, and 30 seconds of plank holds. Rest for one minute after each round. Adjust push-ups from the knees or use an incline if necessary. The standard is correct form, not exhaustion at any cost.
Follow the circuit with three 90-second rounds of movement and strikes. Use 15-second intervals: move, throw straight punches, move again, deliver knees, then reset your guard. This is where the physical work connects to technique. Your hands should still return to position even when your breathing is heavy.
Older adults and complete beginners should reduce impact and increase rest periods. A routine that you can perform consistently for six months is more valuable than a punishing workout that stops after one week. If you have an injury, cardiovascular condition, or concern about exercise readiness, get appropriate medical guidance before beginning intense training.
Routine Four: Practice Awareness, Voice, and Escape Decisions
Krav Maga is not only about striking. The best outcome is often creating distance, using your voice, and leaving before physical contact becomes necessary. This part of training requires no equipment and deserves a place in every home routine.
Set up a simple movement drill in a clear room. Choose an exit point, then begin in a neutral posture. On a verbal cue you give yourself, step back, raise your hands into a non-threatening protective position, and use a firm command such as “Back up” or “Stop.” Move toward the exit rather than standing your ground to prove a point.
Repeat the drill from different starting positions: seated at a desk, standing near a doorway, or carrying a light object. The purpose is to recognize how furniture, narrow hallways, poor footwear, and distracted posture affect your movement. Keep the drill safe. Clear hazards, avoid running indoors, and never train weapon disarms or choke escapes alone.
This is also the right time to develop observation habits. As you enter a room, notice exits, obstacles, and the people closest to you. Awareness is not paranoia. It is a practical skill that gives you more time to make a sound decision.
Turn Home Practice Into a Progression
The difference between exercise and training is accountability. Keep a simple log after each session: what you practiced, how many rounds you completed, where your balance broke down, and what needs correction next time. Video is especially valuable for checking your stance, guard, and retraction after strikes.
For a structured path, follow belt-level material rather than collecting random techniques from short clips. Krav Maga Online gives students access to a progressive curriculum guided by Master Alain Cohen, allowing home practice to connect to formal standards, technical instruction, and recognized advancement.
Train your base on one day, striking on the next, and conditioning plus awareness on the third. After four weeks, review your recordings and notes. You should see cleaner posture, faster recovery to guard, better endurance, and more confidence moving through space.
Real readiness is not built by pretending every session is a fight. It is built by showing up, correcting details, and practicing the simple actions that give you the best chance to protect yourself and get home safely.