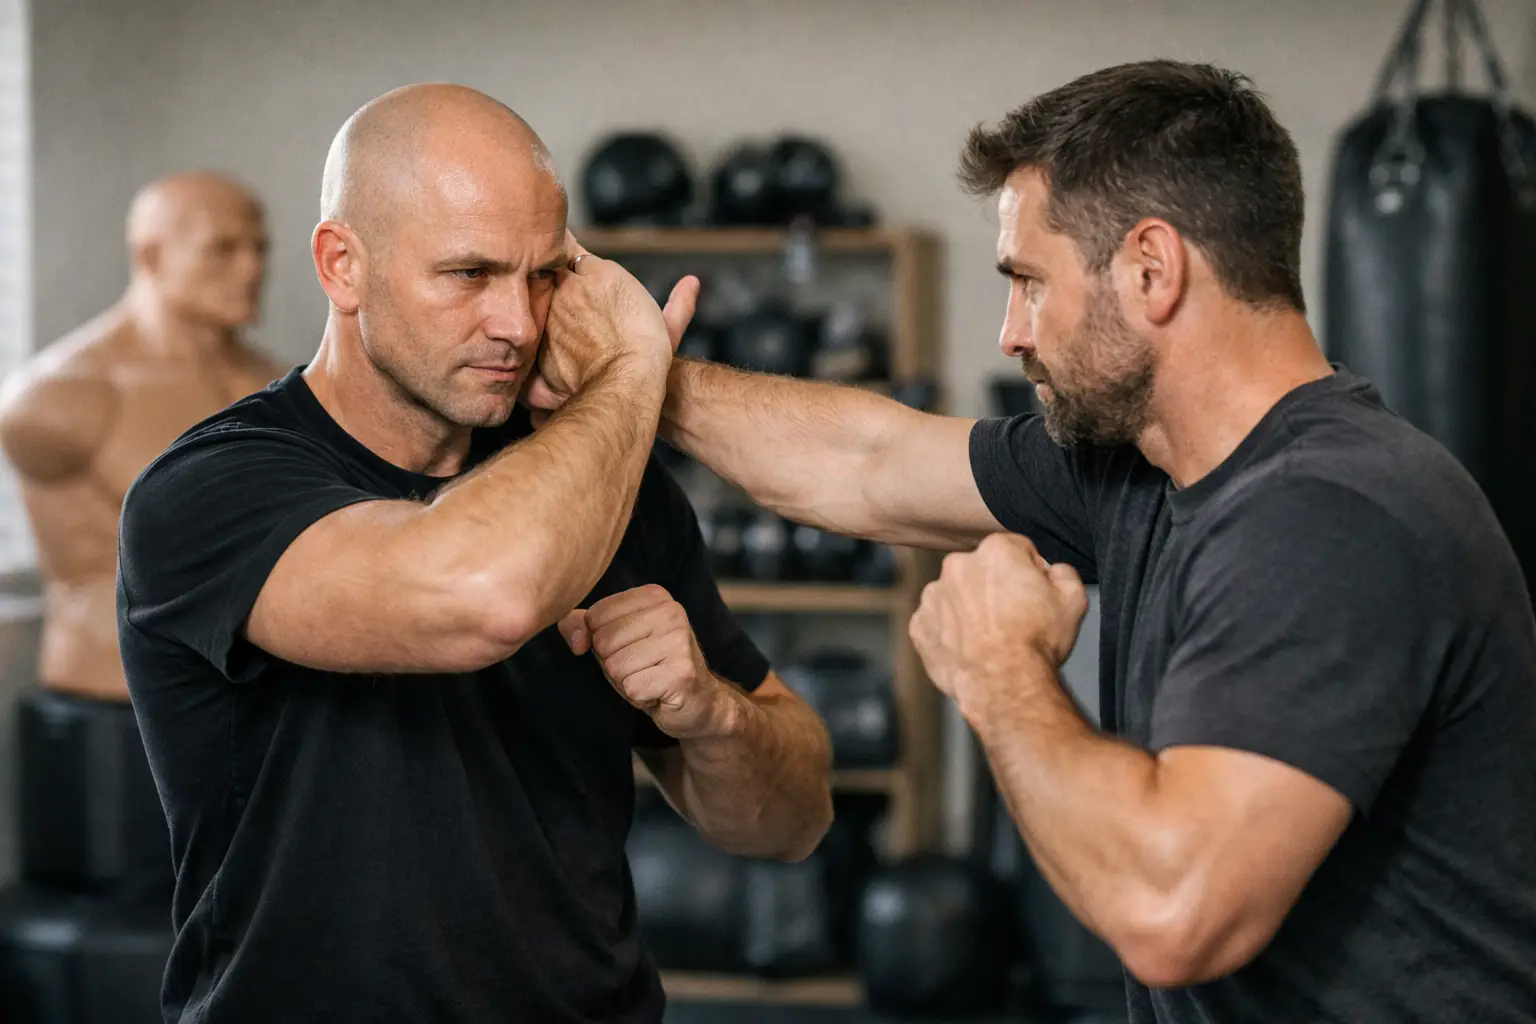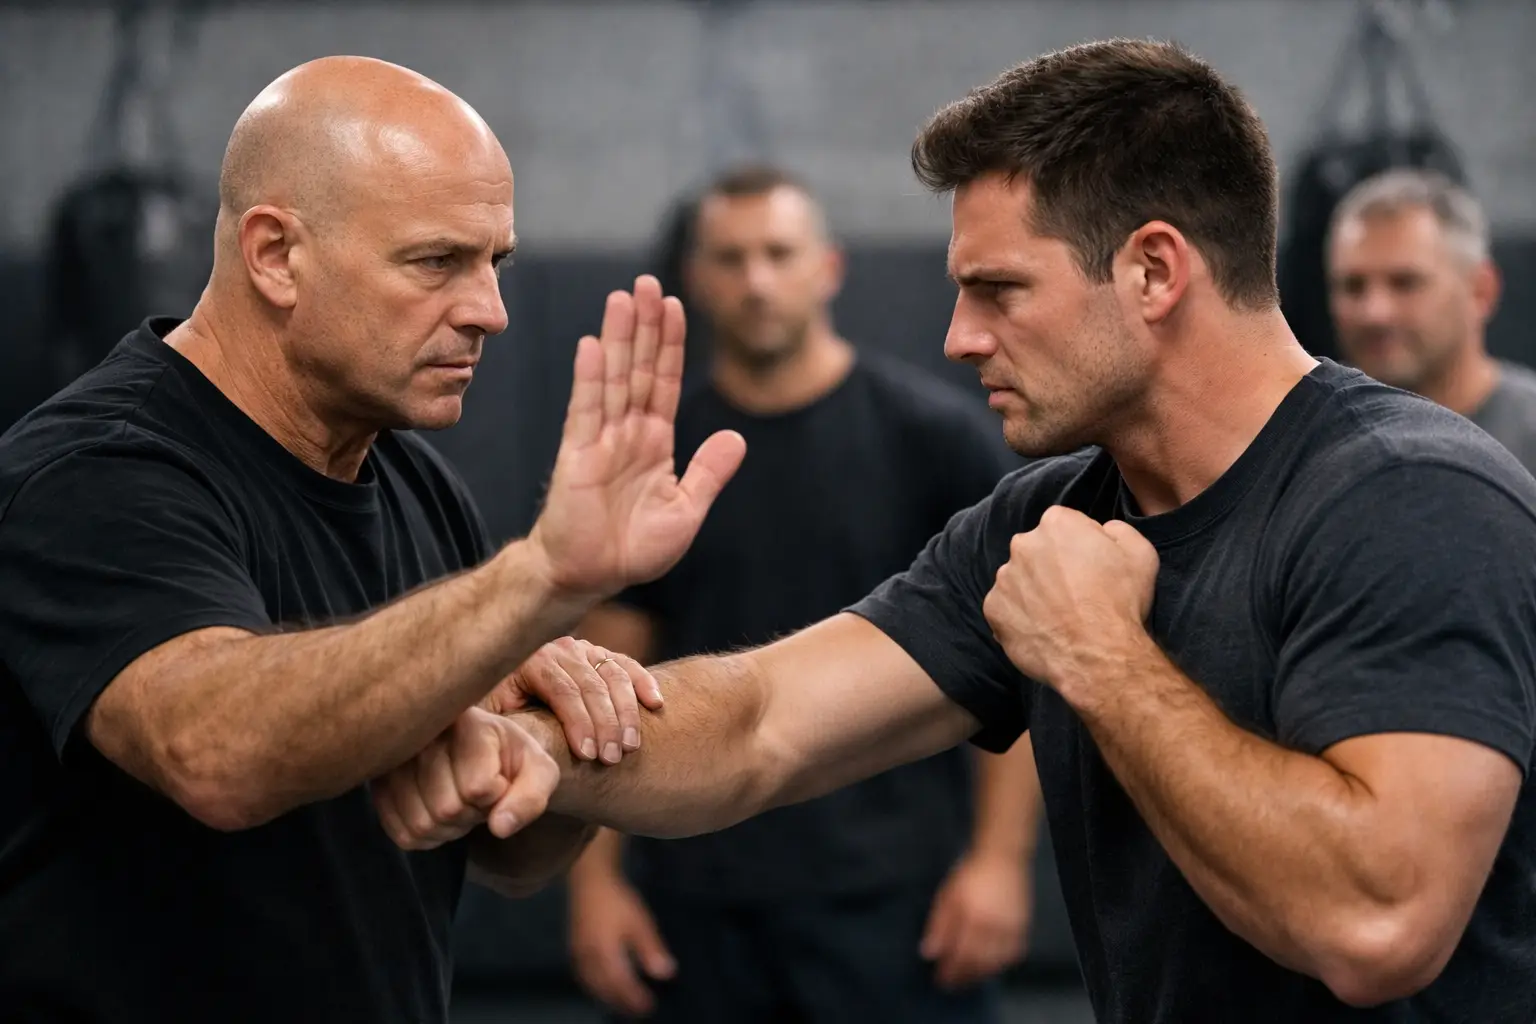
A self-defense drill is not a performance for a mirror. It is a repeatable response that helps you create space, protect yourself, and get away when pressure rises. Learning how to practice self defense drills means training with purpose: simple movements, clear decisions, controlled intensity, and a consistent plan you can follow at home.
The goal is not to win a fight or collect complicated techniques. The goal is to recognize danger early, move decisively, disrupt an attack when necessary, and reach safety. That is the standard that should guide every drill you practice.
Start With Safety and a Clear Training Space
Before practicing any strike, release, or movement pattern, prepare the environment. Clear enough room to take several steps in every direction without hitting furniture, sharp corners, or loose objects. Wear stable shoes if you are training on concrete or outdoors. If you train barefoot, make sure the surface is clean and not slippery.
Warm up for five to 10 minutes. Rotate your shoulders, hips, knees, and wrists, then use light movement such as marching, shadowboxing, or stepping in your fighting stance. Self-defense movements are explosive by nature. A cold body is more likely to strain a muscle, twist a knee, or lose balance at the exact moment you are trying to build confidence.
Set rules before you begin. Train at a pace you can control, especially when working with a partner. Do not practice eye attacks, throat strikes, joint breaks, or weapon defenses at full speed without qualified supervision. Those methods require strict safety protocols, timing, protective equipment, and experienced coaching.
Build Your Base Before Adding Techniques
A reliable stance and effective movement are the foundation of every practical response. If your feet are crossed, your weight is too far forward, or you freeze after a strike, even a technically correct movement can fail under pressure.
Stand with your feet about shoulder-width apart, one foot slightly forward, knees soft, and hands raised naturally between you and the other person. Your chin stays down and your posture stays alert without becoming rigid. From this position, practice moving forward, backward, and at angles without bringing your feet together or crossing them.
Drill: Move, Frame, Exit
Choose a point in the room as the threat and another point as your exit. Begin in a relaxed stance. On a verbal cue from a timer or training partner, raise your hands into a protective position, step back or angle away, and move toward the exit point.
Add a firm verbal command such as “Back up!” or “Stop!” as you move. Your voice is part of self-defense training. It can set a boundary, draw attention, and force you to breathe rather than hold your breath. Practice this drill in short rounds of 20 to 30 seconds, then reset.
The detail that matters most is your exit. Many beginners practice striking a target and stop there. In reality, a strike is only useful if it creates the moment you need to leave.
Practice Simple Strikes With a Purpose
Self-defense striking should favor gross-motor movements that remain available when your heart rate rises. Start with open-hand palm strikes, elbows, knees, and low-line kicks only after you understand your balance and target alignment. Train each movement slowly first, then increase speed while maintaining control.
A heavy bag, striking shield, or focus mitt is useful, but equipment is not required for early practice. Shadow drills can teach stance, body mechanics, protective hand position, and recovery. The key is to imagine a realistic distance. Do not throw ten strikes from too far away or leave your hands down after each movement.
Drill: Strike and Create Distance
Start in your defensive stance with your hands up. Step in with a palm strike motion, return your hands to protection, then move backward at an angle. Repeat on both sides.
When using a pad, have your partner hold it securely and stand with a stable base. Begin with single strikes, not rapid combinations. The striker should focus on driving from the floor through the hips and shoulders, then immediately recovering balance. The pad holder should communicate clearly and never surprise the striker with excessive force.
Once the basic movement is clean, add a realistic verbal cue. Your partner can say “Go,” step forward slowly, or present the pad after a brief pause. That small element of unpredictability helps prevent the drill from becoming empty choreography.
Train Common Self-Defense Decisions, Not Just Motions
A drill becomes more valuable when it includes a decision. Real confrontations are confusing. You may need to set a boundary, move away, use an obstacle, or protect someone beside you. Training only a preset sequence can create false confidence if you have never practiced choosing the right response.
Work through scenarios that fit your actual life: walking from a parking area, answering the door, sitting at a desk, standing in an elevator lobby, or entering your car. Keep the scenario simple and focus on awareness, distance, and escape routes.
For example, place a chair between yourself and a partner acting as an approaching aggressor. Practice moving around the chair while keeping it as a barrier, using verbal commands, and leaving through a designated doorway. You are not trying to “beat” the partner. You are learning to use position and environment to avoid being trapped.
If you train with a partner, agree on intensity levels in advance. A partner should challenge your awareness, not try to overpower you. There is a major difference between pressure training and reckless training. Good pressure is progressive, repeatable, and controlled.
Add Releases Carefully and Realistically
Grip releases are useful because grabbing is common, but they are often practiced in ways that do not reflect reality. Avoid treating every wrist grab as a puzzle with one perfect answer. Your priorities are to maintain balance, protect your head, create movement, and leave.
A basic partner drill can begin with a light wrist hold. Practice turning toward the weakest point of the grip while stepping back or at an angle, then bring your hands up and move away. Start with a cooperative partner and light resistance. As your mechanics improve, add resistance gradually without yanking, twisting, or forcing the joint.
Do not allow the drill to end the instant the grip releases. Continue with your protective stance, verbal command, and exit movement. This reinforces the correct habit: release is not the finish line.
Use Timing, Fatigue, and Distraction in Stages
Perfect repetitions have value, but they are only the first stage. Once a movement is technically sound, change one variable at a time. Use a timer, begin from a seated position, turn your back before the cue, or perform light exercise before the round. These changes help you notice what happens to your posture and decision-making when you are breathing hard.
Do not turn every session into chaos. If you add speed, fatigue, resistance, and multiple instructions at once, technique usually collapses and injury risk rises. Train in layers. First learn the movement. Then add a cue. Then add resistance. Then add a safe form of stress.
A practical 30-minute session might include a warm-up, movement and exit drills, controlled striking or shadow practice, one scenario drill, and a brief review of what felt unstable. Record a short video occasionally. You may notice that your hands drop, your stance narrows, or you stop moving after the first action. Honest feedback produces faster progress than repeating what merely feels powerful.
Follow a Structured Progression
Random drills can keep training interesting, but they do not reliably build skill. Beginners need a clear sequence: stance and movement first, then distance management, basic strikes, releases, ground survival concepts, and increasingly demanding scenarios. Advanced students can add tactical decision-making, multiple-threat awareness, protective duties, and profession-specific training.
This is where a formal curriculum matters. Krav Maga Online provides structured instruction designed to take students from fundamental self-defense movements through belt progression, allowing them to train on a flexible schedule while following a recognized path rather than guessing what to practice next.
Train two or three times per week if you are starting out. Short, focused sessions are more useful than an occasional exhausting workout. Keep a simple training log with the drill, number of rounds, intensity level, and one point to improve next time. Consistency develops automatic responses; intensity without consistency usually develops frustration.
Know When Solo Training Is Not Enough
Solo practice is excellent for footwork, stance, striking mechanics, verbal commands, and conditioning. It cannot fully teach distance, timing, resistance, or the emotional pressure of another person moving unpredictably. Use solo work to build your base, then add a trusted partner, qualified instructor, or supervised training environment whenever possible.
Certain areas deserve professional coaching from the start: weapon threats, ground fighting with resistance, choke defenses, high-impact throws, and any drill that could injure a partner. There is no status in practicing dangerous material carelessly. Serious self-defense training means respecting the consequences of both violence and poor training decisions.
The best drill is the one you can perform correctly when you are tired, startled, and determined to get home safely. Practice the basics until your movement is direct, your voice is clear, and your first instinct is to create an exit. That is where real readiness begins.